
How to Make Easy Cookie Icing (That Actually Works)
How to make icing for cookies easy usually comes down to two things, using the right base recipe and learning a quick “consistency check” so it doesn’t run everywhere or dry like chalk. Once you have those, you can decorate without turning your kitchen into a sticky crime scene.
A lot of cookie icing frustration isn’t about skill, it’s about texture. Too thick and it tears your cookie, too thin and it floods over the edges. The good news, you can fix most batches with a teaspoon of water or a spoonful of sugar, no drama.
This guide walks you through an easy icing formula, how to adjust it for outlining or flooding, and a few practical tricks that help your designs dry neatly. No fancy equipment required, though a couple add-ons can make it calmer.
Pick Your “Easy” Icing: Royal vs. Simple Glaze
There are two popular routes for cookie decorating, and “easy” means different things depending on how you use your cookies.
- Easy Royal Icing (with meringue powder): dries hard, stacks well, best for clean lines and detailed designs.
- Easy Powdered Sugar Glaze: faster to mix, softer set, great for quick dip-and-swish cookies, less ideal for stacking.
If you need cookies for gifting, shipping, or stacking in tins, royal icing is typically the safer bet. If you’re icing cookies for a casual party tray, glaze can be the most relaxed option.
According to USDA, powdered egg products should be handled and stored per label directions to reduce food safety risk, and if you’re serving people who may be vulnerable, you may want to avoid raw egg whites and use pasteurized options or meringue powder.
Easy Royal Icing Recipe (Beginner-Friendly)
This is the go-to version when people ask how to make icing for cookies easy but still want that smooth, professional finish.
Ingredients
- 4 cups powdered sugar (confectioners’ sugar), sifted if lumpy
- 3 tbsp meringue powder
- 6–8 tbsp lukewarm water (start low)
- 1 tsp vanilla extract (optional)
- Gel food coloring (optional)
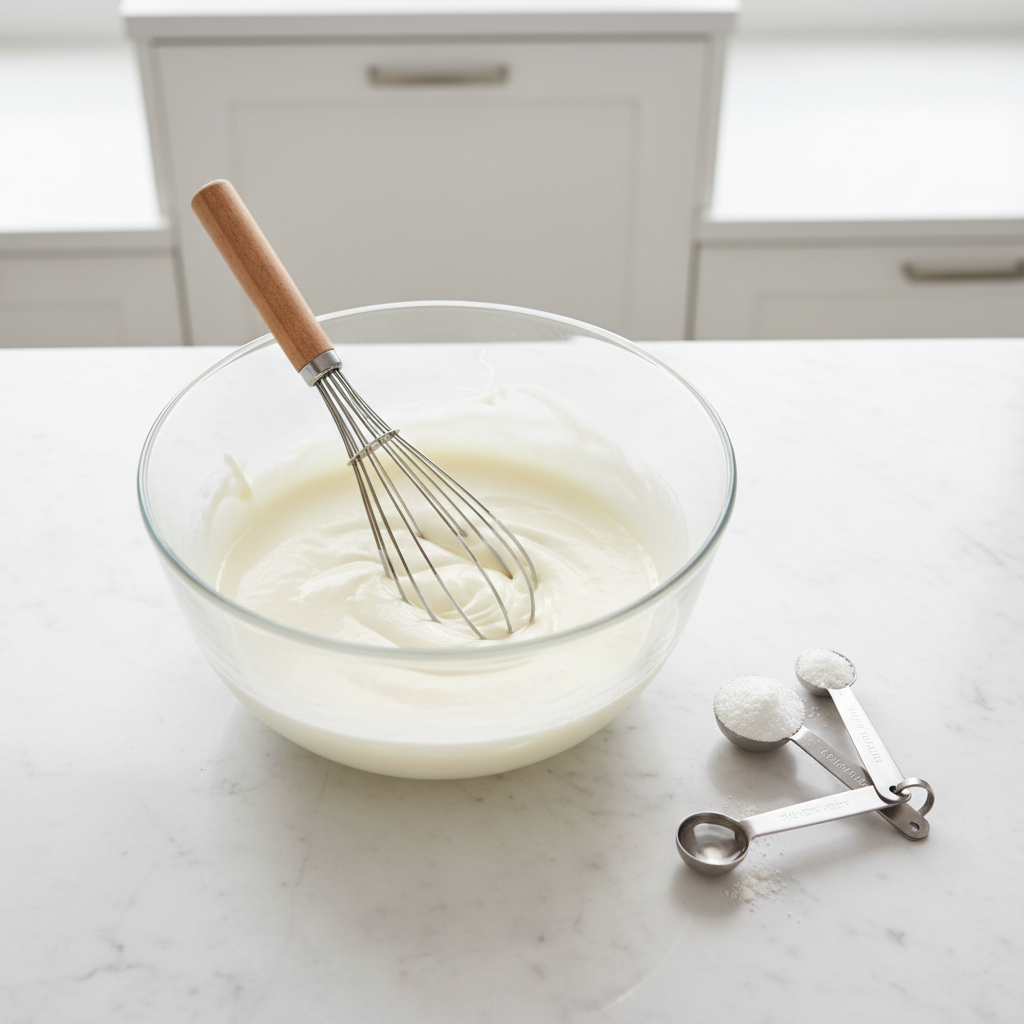
Steps
- Mix powdered sugar + meringue powder in a bowl.
- Add 6 tbsp water and vanilla, then whisk or mix on low until smooth.
- Increase water a tiny bit at a time until it reaches your target consistency.
- Cover immediately with plastic wrap touching the surface, icing crusts fast.
Key point: don’t chase “perfect” right away. Mix it slightly thick, then thin small portions for flooding as needed, it’s much easier to control.
The Consistency Cheat Sheet (This Is Where Most People Win)
If you only learn one thing, make it this. Consistency determines whether your icing behaves.
| Use | Texture Goal | Quick Test | Fix If Off |
|---|---|---|---|
| Outline | Thick, holds a line | Ribbon sinks back in ~15–20 sec | Add sugar if runny, add drops of water if too stiff |
| Flood | Flows, self-levels | Ribbon disappears in ~8–12 sec | Thin with a few drops water, thicken with sugar |
| Detail | Very thick, sharp edges | Peaks hold and barely settle | Usually needs more sugar, mix slowly to avoid bubbles |
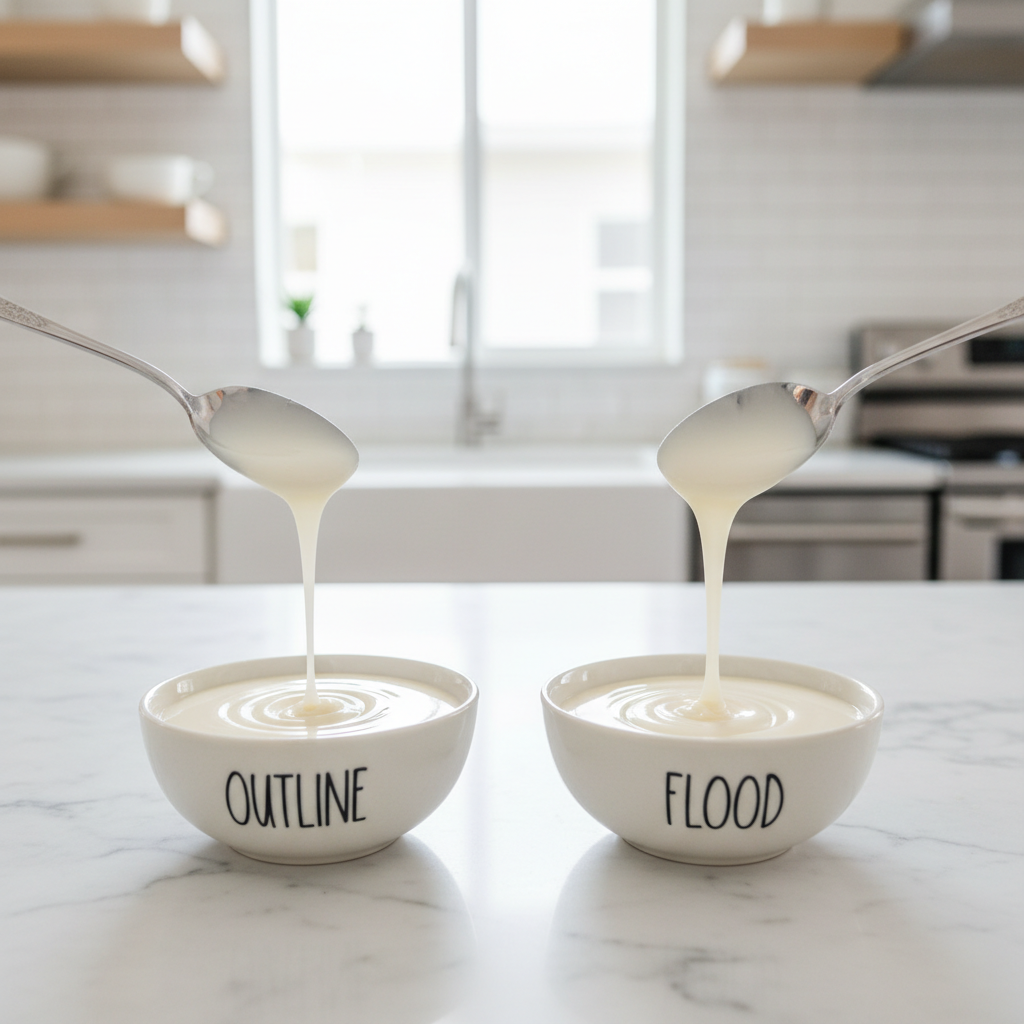
Fast self-check: drag a knife line through the icing surface. If the line closes slowly and smoothly, you’re close. If it snaps shut instantly, it’s likely too thin. If it stays open like a canyon, it’s too thick.
Quick Self-Diagnosis: What’s Going Wrong?
Before you remake a batch, it helps to name the problem. Most issues have simple fixes.
- Icing runs off the cookie: too thin, or your cookie surface is greasy. Thicken with sugar and let cookies cool fully.
- Icing looks bumpy: sugar lumps or under-mixed. Sift sugar, mix a bit longer, then let it rest 5 minutes.
- Cracks after drying: often too thick for flooding, or dried too fast in low humidity. Thin slightly and avoid blasting with a fan.
- Bleeding colors: wetter icing + strong colors. Use gel coloring, let base layer dry longer.
- Dull finish: high humidity or over-mixing with too much air. Mix on low, and dry in a calm, dry spot.
Some of this is weather. Humidity changes drying time a lot, and that’s why the “same recipe” can behave differently day to day.
Step-by-Step: Decorate Cookies Without Stress
This is the simplest workflow when you want tidy cookies and minimal fuss.
1) Set up two consistencies
- Keep one bowl thicker for outlines.
- Thin a second bowl for flooding.
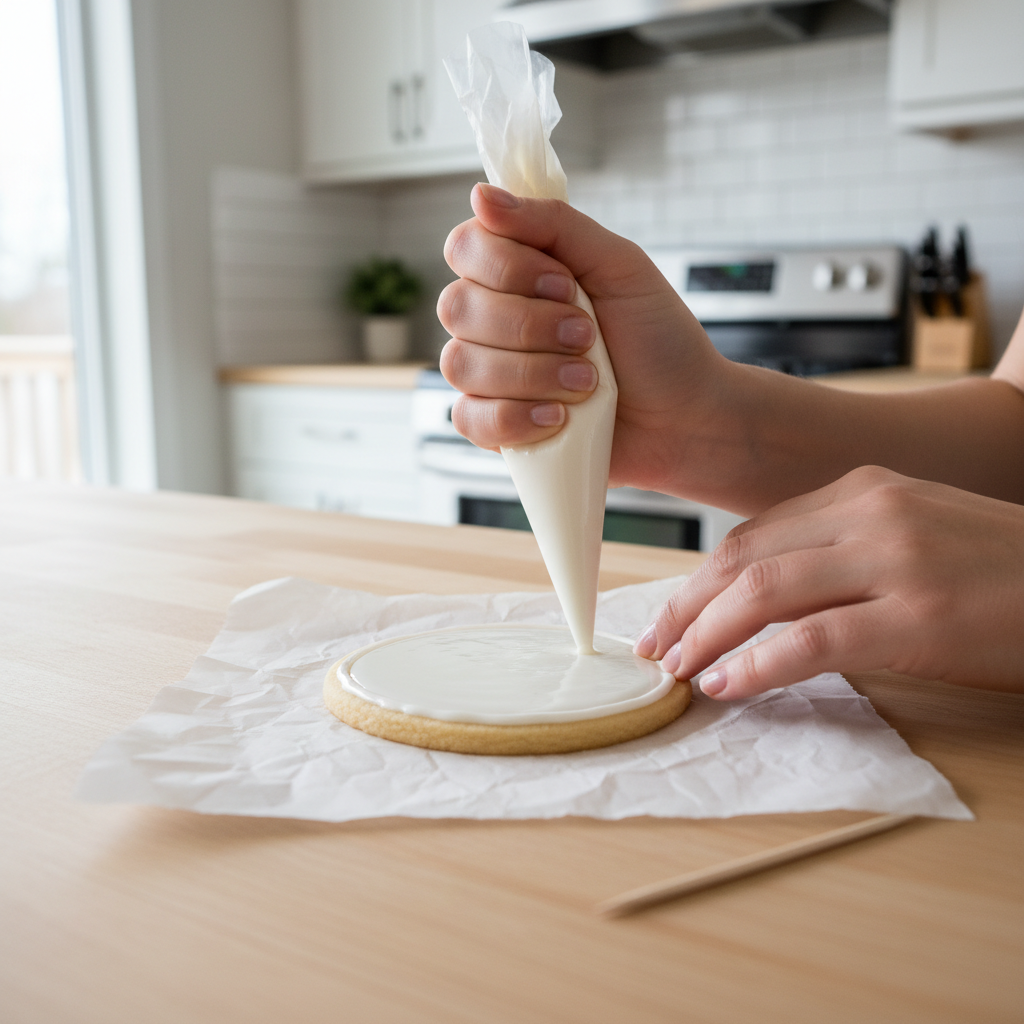
2) Outline first
Pipe a border near the edge, it acts like a dam. If you skip this, flooding tends to wander.
3) Flood inside the outline
Add flood icing, then use a toothpick or scribe tool to nudge it into corners. Tap the cookie gently to help it level.
4) Pop bubbles
Give it 20–30 seconds, then pop surface bubbles with a toothpick. This tiny step makes the finish look much cleaner.
Drying reality: cookies may feel dry on top within an hour, but a fully hard set can take longer, often overnight, especially with thicker flood layers or humid air.
Tools That Make Easy Icing Even Easier (But Aren’t Mandatory)
You can do this with a zip-top bag and scissors, but a few low-cost tools reduce frustration.
- Piping bags + small round tips: more control than corner-cut bags, especially for outlines.
- Squeeze bottles: great for flooding, less hand fatigue.
- Scribe tool or toothpicks: for corners, swirls, bubble popping.
- Gel food colors: richer color without thinning the icing.
- Small spray bottle: one mist can loosen icing faster than dumping water in.
One quiet tip: keep a damp paper towel over bowls and bag tips while you work, crusting causes clogs that feel like “my icing recipe failed,” when it’s really just exposed icing.
Common Mistakes and Fixes (So You Don’t Start Over)
- Adding too much water at once: it goes from thick to soup quickly. Add water in drops or 1/2 tsp at a time.
- Over-whipping: can trap air and lead to bubbles. Mix on low until smooth.
- Skipping the cover: royal icing forms a skin fast. Press plastic wrap onto the surface.
- Icing warm cookies: heat melts the surface layer and causes sliding. Cool completely.
- Trying to flood with outline icing: it won’t self-level, you’ll fight it. Thin a portion instead.
If you’re serving kids or anyone with allergies, read labels on meringue powder and colorings, ingredients vary by brand. When in doubt, a quick check with a medical professional is the safest call for allergy-sensitive situations.
Conclusion: Your “Easy” Win Is Consistency, Not Complexity
If your goal is how to make icing for cookies easy, don’t overcomplicate the recipe, focus on getting two textures you can control, one for outlines and one for flooding. After that, the decorating part starts to feel predictable, which is most of the battle.
Try this next: mix a small batch, split it into two bowls, and practice the 10-second flood test on one cookie. Once you see it level cleanly, you’ll trust the process and move faster.
FAQ
How do I make cookie icing that hardens?
Royal icing with meringue powder typically hardens to a firm finish suitable for stacking. A simple powdered sugar glaze can set, but it often stays a bit softer and may dent under pressure.
What’s the easiest substitute if I don’t have meringue powder?
A powdered sugar glaze (powdered sugar + a small amount of milk or water + flavoring) is the simplest substitute. If you need a hard dry and you’re considering egg whites, many people prefer pasteurized options for safety.
Why is my icing separating or getting watery in the bowl?
It’s often too much water or not enough mixing time to fully emulsify. Add a little more powdered sugar, mix slowly, and keep it covered to prevent surface drying that can look like separation.
How do I color icing without making it too thin?
Gel food coloring helps because you get strong color with less liquid. Add a tiny amount, mix, then wait a minute because color deepens slightly as it sits.
How long should cookies dry before I stack them?
Many batches need several hours, and overnight is common for fully firm flooding. Humidity can stretch drying time, so test by lightly tapping the surface and the edges before stacking.
Can I make icing ahead of time?
Usually yes. Store it in an airtight container with plastic wrap pressed onto the surface, then re-mix gently and adjust consistency with small additions of water or sugar.
How do I fix icing that’s too sweet?
Sweetness is part of traditional icing, but a pinch of salt, a little lemon juice, or using vanilla/almond extract can balance it. Keep additions small so you don’t throw off the texture.
If you’re making a batch for a party and want a more hands-off setup, prepping two labeled bottles (outline and flood) and a simple consistency timer can make the whole process feel calmer and more repeatable.