
Nut recipes solve a very real snack problem: you want something crunchy and satisfying, but you don’t want to bake a whole dessert or rely on ultra-processed options.
The catch is that nuts can go from “perfectly toasted” to “why does this taste bitter?” fast, and sweet coatings can turn sticky if you store them wrong. This guide keeps things practical: a handful of reliable crunchy snack recipes, how to customize them, and what to watch so your batch stays crisp.
One note up front, if you manage sodium intake, allergies, or certain health conditions, it’s worth checking labels and portions and, when needed, asking a healthcare professional for personalized guidance.
What makes a nut snack truly crunchy (and not just “hard”)
Crunch usually comes from drying the surface and lightly toasting the fats, not from blasting nuts at high heat. Many people crank the oven to save time, then wonder why the flavor turns sharp.
Here are the main levers you can control at home:
- Low-to-moderate heat (often 300–325°F) for even toasting without scorching.
- Stirring once or twice so edges don’t over-brown.
- Thin coating if you add honey or maple, too much turns glossy and sticky.
- Full cooling on the pan, many coatings crisp as they cool.
According to the USDA, nuts are considered perishable because of their oil content, so good storage matters for flavor and freshness, not just crunch.
Quick “choose your recipe” guide (with time, flavor, and best nuts)
If you’ve ever saved a recipe and never made it because it felt fussy, use this table instead. Pick a row based on what you want today, not what looks impressive.
| Snack style | Time | Texture | Flavor lane | Best nuts |
|---|---|---|---|---|
| Sheet-pan spiced nuts | 20–30 min | Dry, crisp | Savory | Almonds, pecans, walnuts |
| Seed + nut crunch clusters | 25–35 min | Clustery | Sweet-leaning | Cashews, peanuts, pepitas |
| Pan-toasted “snack mix” | 10–15 min | Fast crunch | Either | Pistachios, almonds, peanuts |
| Air-fryer crunchy nuts | 8–12 min | Very crisp | Either | Almost any, avoid tiny pieces |
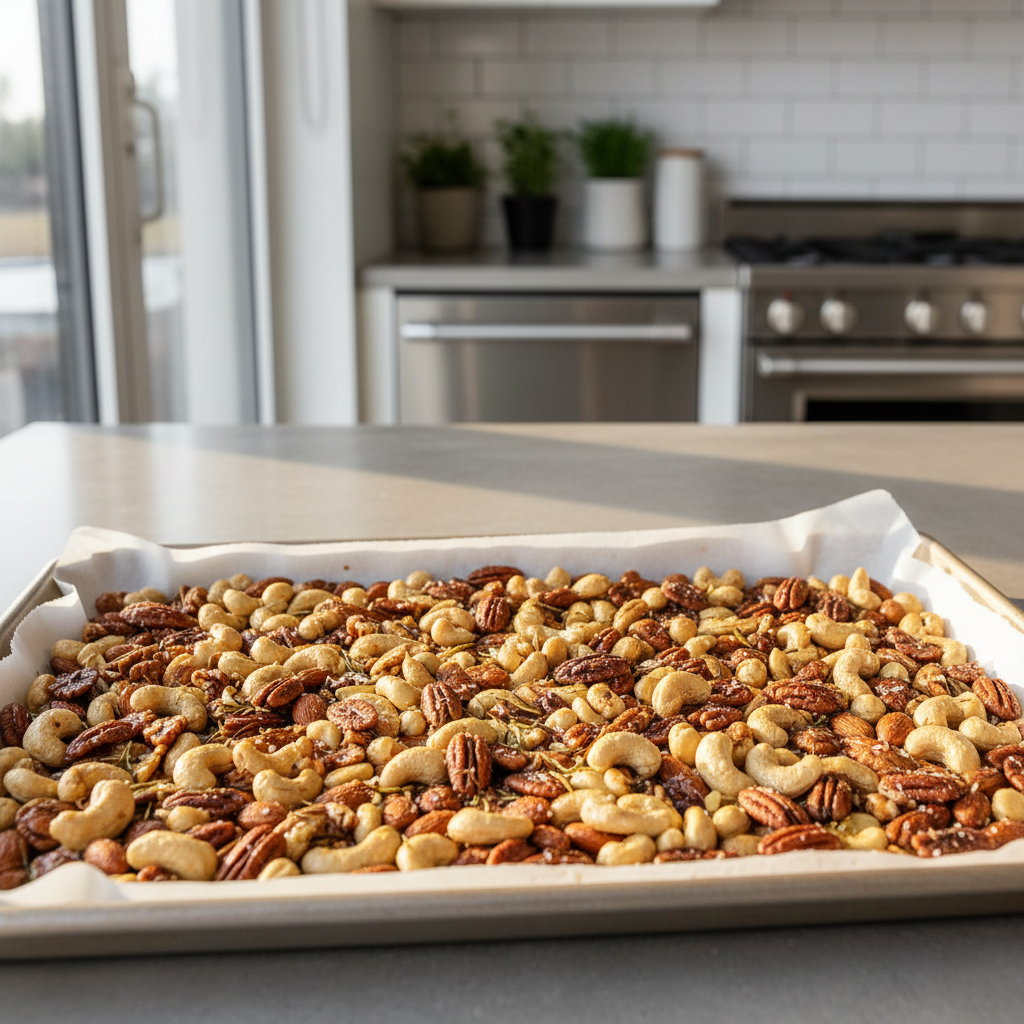
Recipe 1: Smoky paprika & rosemary roasted nuts (sheet pan)
This is one of those nut recipes you can memorize after making it once. It works because it’s dry-leaning, so it stores well and stays crunchy for days.
Ingredients
- 3 cups mixed nuts (almonds + pecans + cashews are a safe trio)
- 1–2 tbsp olive oil
- 1 tsp smoked paprika
- 1/2 tsp garlic powder
- 1 tsp chopped rosemary (fresh or dried)
- 1/2 tsp fine salt (adjust to taste)
- Pinch of cayenne (optional)
Steps
- Heat oven to 325°F, line a sheet pan with parchment.
- Toss nuts with oil and seasonings until evenly coated, no wet puddles.
- Spread in a single layer.
- Roast 10 minutes, stir, roast 6–10 minutes more until fragrant and lightly browned.
- Cool fully on the pan, they crisp as the surface dries.
Editor’s tip: if the rosemary looks like it might burn, mix it in during the last 5 minutes, you still get the aroma without bitter bits.
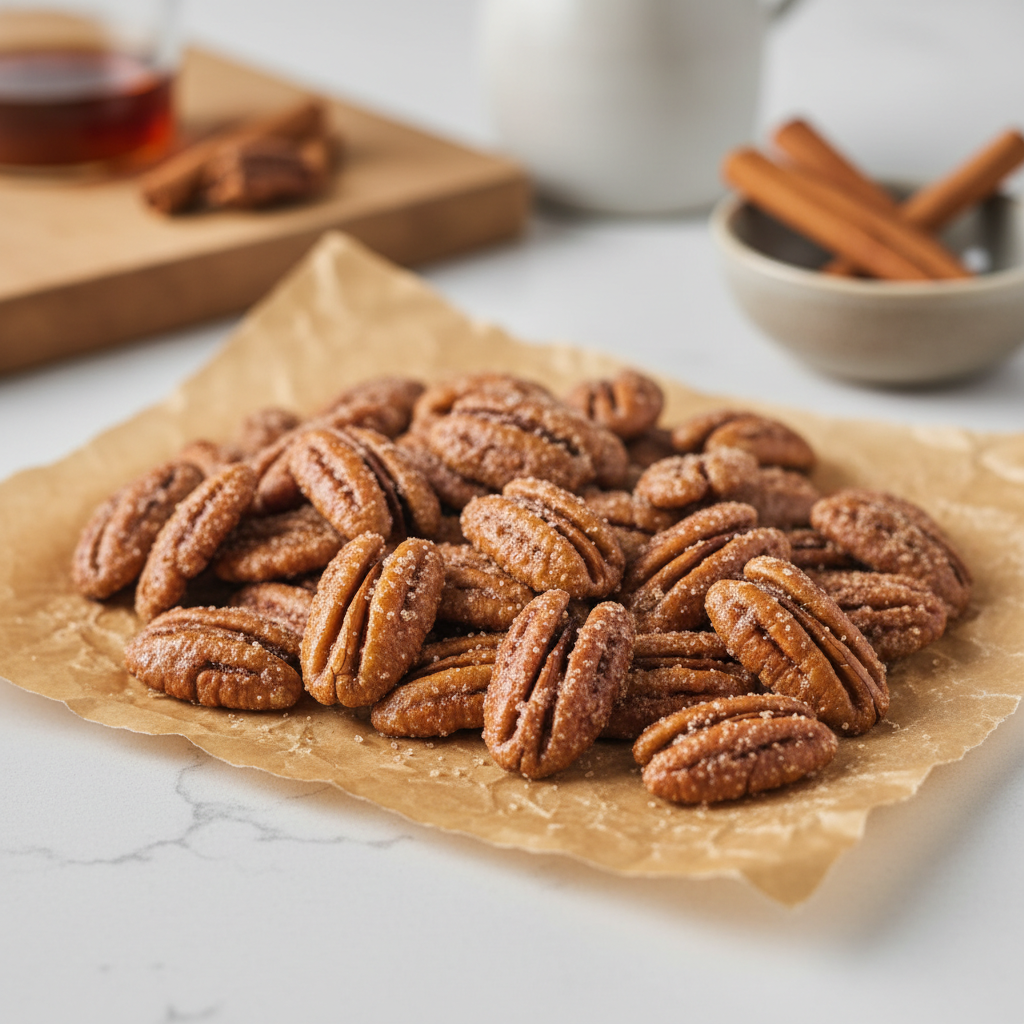
Recipe 2: Cinnamon-maple pecan crunch (sweet, not sticky)
Sweet nut snacks often fail because the coating stays tacky. The trick is a thin syrup and enough bake time to dry the surface, plus patience while cooling.
Ingredients
- 3 cups pecan halves
- 2 tbsp maple syrup
- 1 tbsp melted butter or neutral oil
- 1 tsp cinnamon
- 1/4 tsp fine salt
- Optional: 1 tsp vanilla
Steps
- Heat oven to 300°F, line a sheet pan.
- Mix syrup, butter, cinnamon, salt (and vanilla), then toss pecans until coated.
- Spread in one layer, roast 12 minutes, stir, then roast 10–15 minutes more.
- Turn off oven, crack the door for 5 minutes to let steam escape.
- Cool completely, then break apart any clumps.
If you want extra crunch without extra sweetness, dust with a teaspoon of granulated sugar right after baking, then cool. It helps dry the surface.
Recipe 3: Chili-lime crunchy nut & seed mix (stovetop)
This one is built for people who snack while working: fast, bold, and easy to adjust. It also pairs well with sparkling water or a light beer, if that’s your lane.
Ingredients
- 1 cup almonds
- 1 cup peanuts or cashews
- 1/2 cup pepitas (pumpkin seeds)
- 1 tbsp oil
- Zest of 1 lime + 1 tbsp lime juice
- 1 tsp chili powder
- 1/2 tsp cumin
- Salt to taste
Steps
- Warm a large skillet over medium heat, add oil and nuts.
- Toast 6–8 minutes, stirring often, until you smell a roasted aroma.
- Add pepitas for the last 2–3 minutes, they toast quickly.
- Turn off heat, add zest, spices, and a small splash of lime juice.
- Spread on a plate to cool, don’t leave it in the hot pan.
Key point: add lime juice off heat and keep it minimal, too much liquid softens the crunch.
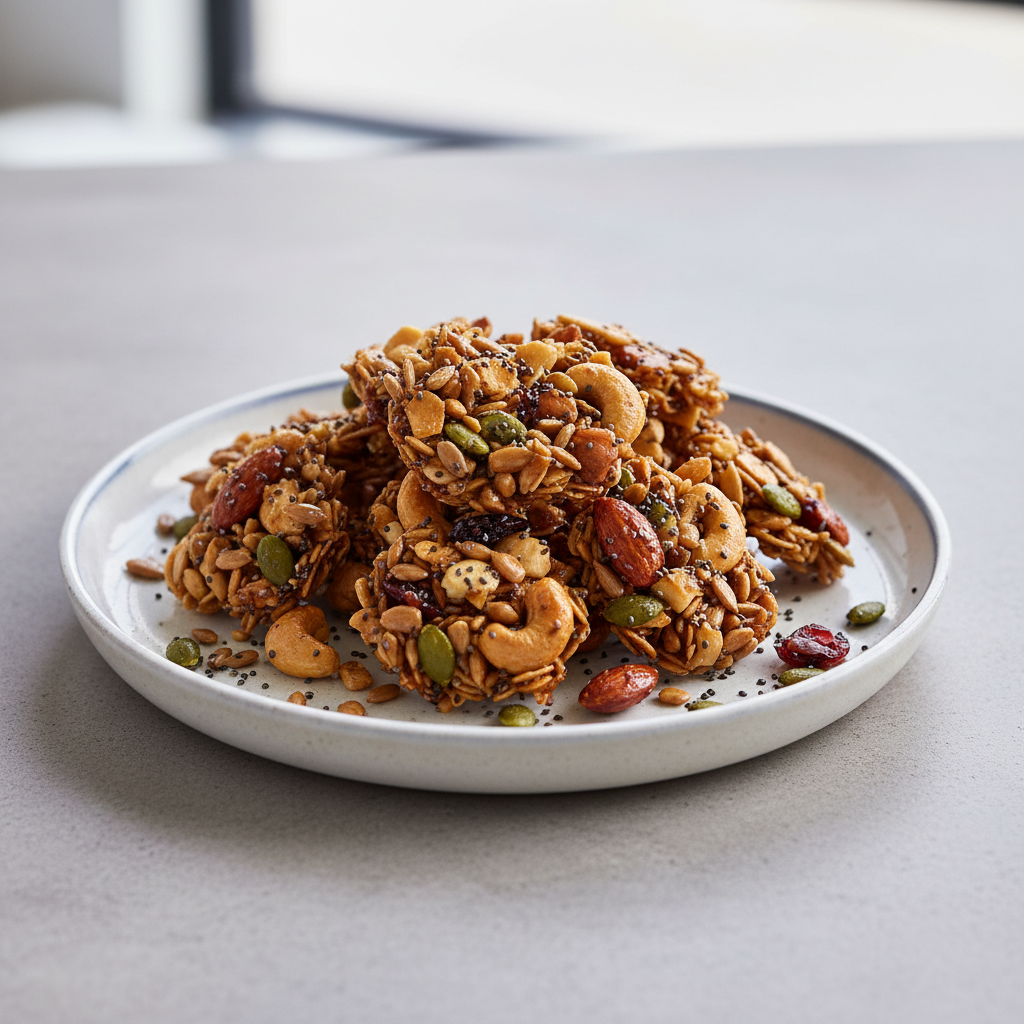
Make-your-own crunchy nut clusters (granola vibes, fewer crumbs)
If you like clusters but hate gritty granola dust, this approach helps. You’re not aiming for a thick binder, just enough to hold “bites” together.
Base formula
- 3 cups chopped nuts + seeds (use at least 1 cup larger pieces for bite)
- 1/3 cup egg white or aquafaba (binder)
- 2 tbsp honey or maple (optional for sweetness)
- Spices: cinnamon and salt, or smoked paprika and pepper
Steps
- Heat oven to 300°F, line a sheet pan.
- Whisk egg white (or aquafaba) until foamy, toss with nuts, seeds, and seasonings.
- Press mixture into a thin, even layer.
- Bake 25–35 minutes, rotating once, until dry and lightly browned.
- Cool fully, then break into clusters.
These nut recipes are forgiving, but moisture is not, if your clusters feel soft after cooling, return them to the oven for 5–8 minutes at 275°F and cool again.
Practical tips: portions, storage, and keeping crunch for the week
Most crunchy nut snacks taste best within a week at room temp, but storage and your kitchen humidity change the story.
- Cool completely before sealing, trapped warmth creates condensation.
- Use an airtight jar, add a small piece of paper towel for the first day if your kitchen runs humid.
- For longer storage, freezing often works well for nuts, thaw at room temp with the lid slightly loose to avoid condensation.
- If snacks taste “flat,” a quick re-toast at 300°F for 5–7 minutes can revive aroma and crunch.
According to the U.S. Food and Drug Administration (FDA), major food allergens include peanuts and tree nuts, so label jars clearly if you share snacks at work or in a household with mixed diets.
Common mistakes that quietly ruin nut snacks
- Overcrowding the pan: steaming beats roasting, and you lose crispness.
- High heat to “save time”: outside burns while the inside stays pale.
- Seasoning too late for dry spices: they won’t stick unless there’s a light oil film.
- Too much liquid (citrus, soy sauce, honey): flavor is great, texture suffers unless you dry it properly.
- Skipping the cool-down: many coatings set only after 20–30 minutes.
How to customize flavors without restarting from scratch
If you like the crunch but get bored fast, keep one “base roast” and change the finish. That’s usually the easiest way to make nut recipes feel new.
- Spicy: chipotle powder, black pepper, pinch of brown sugar.
- Herby: thyme, rosemary, lemon zest added after baking.
- Umami: nutritional yeast, toasted sesame seeds, a tiny amount of MSG if you use it.
- Sweet: cocoa + cinnamon + a little salt, finish with orange zest.
Key takeaway: make small test batches until you learn how your oven runs, then scale up with confidence.
Conclusion: a crunchy snack plan you’ll actually repeat
Good crunchy nuts come down to a few controllable habits: moderate heat, thin coating, real cooling time, and airtight storage. Pick one savory and one sweet option from the recipes above, batch them on the same sheet pan, and you’re set for several snack days without a lot of effort.
If you want an easy next step, start with the smoky rosemary mix, then use the same method to build your own signature jar.